
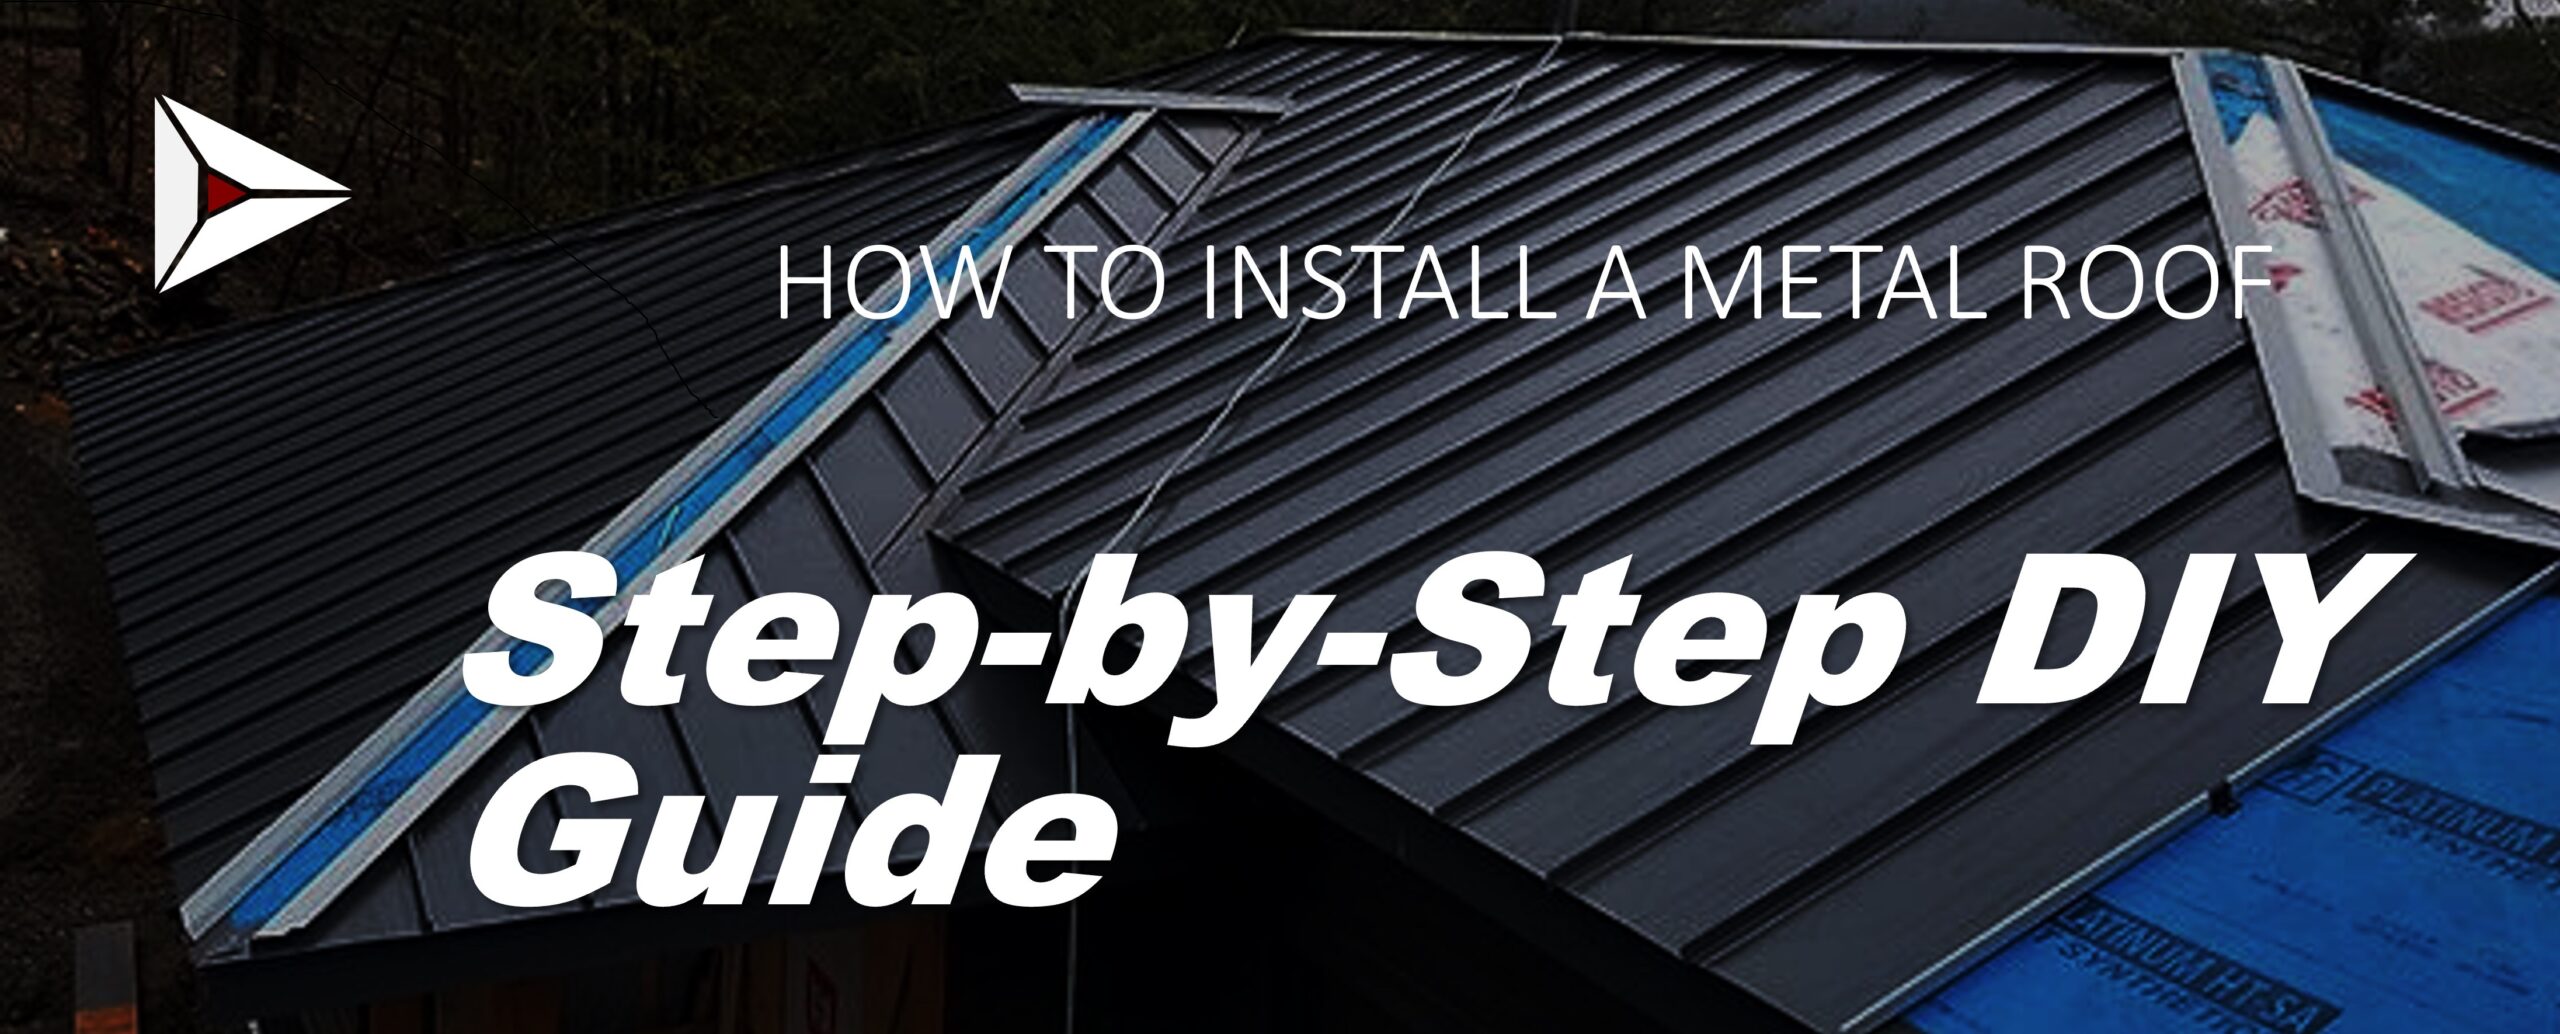
Installing a metal roof can be a rewarding DIY project for experienced homeowners. Metal roofing is durable, energy-efficient, and long-lasting—but proper installation is critical to avoid leaks and performance issues.
⚠️ Important: If your roof has complex geometry, steep slopes, or structural concerns, professional installation is strongly recommended.
🧰 Tools & Materials You’ll Need
Tools
- Tape measure
- Chalk line
- Drill/impact driver
- Metal snips or shears
- Circular saw with a metal blade
- Roofing square
- Safety harness, gloves, eye protection
Materials
- Metal roofing panels
- Underlayment (synthetic or felt)
- Ice & water shield (as required)
- Roofing screws with neoprene washers
- Closure strips (foam or rubber)
- Flashing (eave, gable, valley, ridge)
- Ridge cap
Step 1: Prepare the Roof Deck
Remove old roofing (if required by code).
Inspect the roof decking:
- Replace rotted or damaged plywood.
- Ensure the surface is flat and secure.
Verify roof slope:
- Most metal panels require minimum 3:12 pitch (check manufacturer specs).
✅ A solid, clean deck is essential for a leak-free roof.
Step 2: Install Underlayment
- Start at the eaves and roll underlayment horizontally.
- Overlap rows according to manufacturer guidelines.
- Install ice & water shield along eaves and valleys (especially in cold climates).
- Secure with cap nails or approved fasteners.
👉 Underlayment acts as your roof’s secondary waterproof barrier.
Step 5: Install Metal Panels
- Place the first panel square to the roof.
- Fasten using manufacturer-approved screws:
- Through the flat (for exposed fastener panels)
- Or into clips (for standing seam systems)
- Do not overtighten screws—washers should be snug, not crushed.
- Overlap panels as specified.
Repeat across the roof, checking alignment frequently.
6. Ask About Warranties—Both Material and Labor
Metal roofing often comes with a manufacturer’s warranty, but workmanship is equally important. Confirm:
- Length of manufacturer warranty
- Whether labor/workmanship is covered
- What is excluded from coverage
- Whether warranties are transferable
A quality installer stands behind their work.
Why Homeowners Trust Atlantic Metal Roofing
At Atlantic Metal, we believe education comes first. We help homeowners understand their options, choose the right metal roofing system, and ensure every installation meets the highest standards of quality and durability.
Our focus is on:
- Precision metal roofing systems
- High-quality materials
- Skilled, experienced installation
- Long-term performance and value
We don’t just supply metal—we help customers invest in a roof that performs for a lifetime.
Ready to Upgrade? Let’s Talk.
If you’re considering a metal roof or want to understand your options, the Atlantic Metal team is here to help. We’ll guide you through materials, pricing, installation, and everything you need for a confident decision.

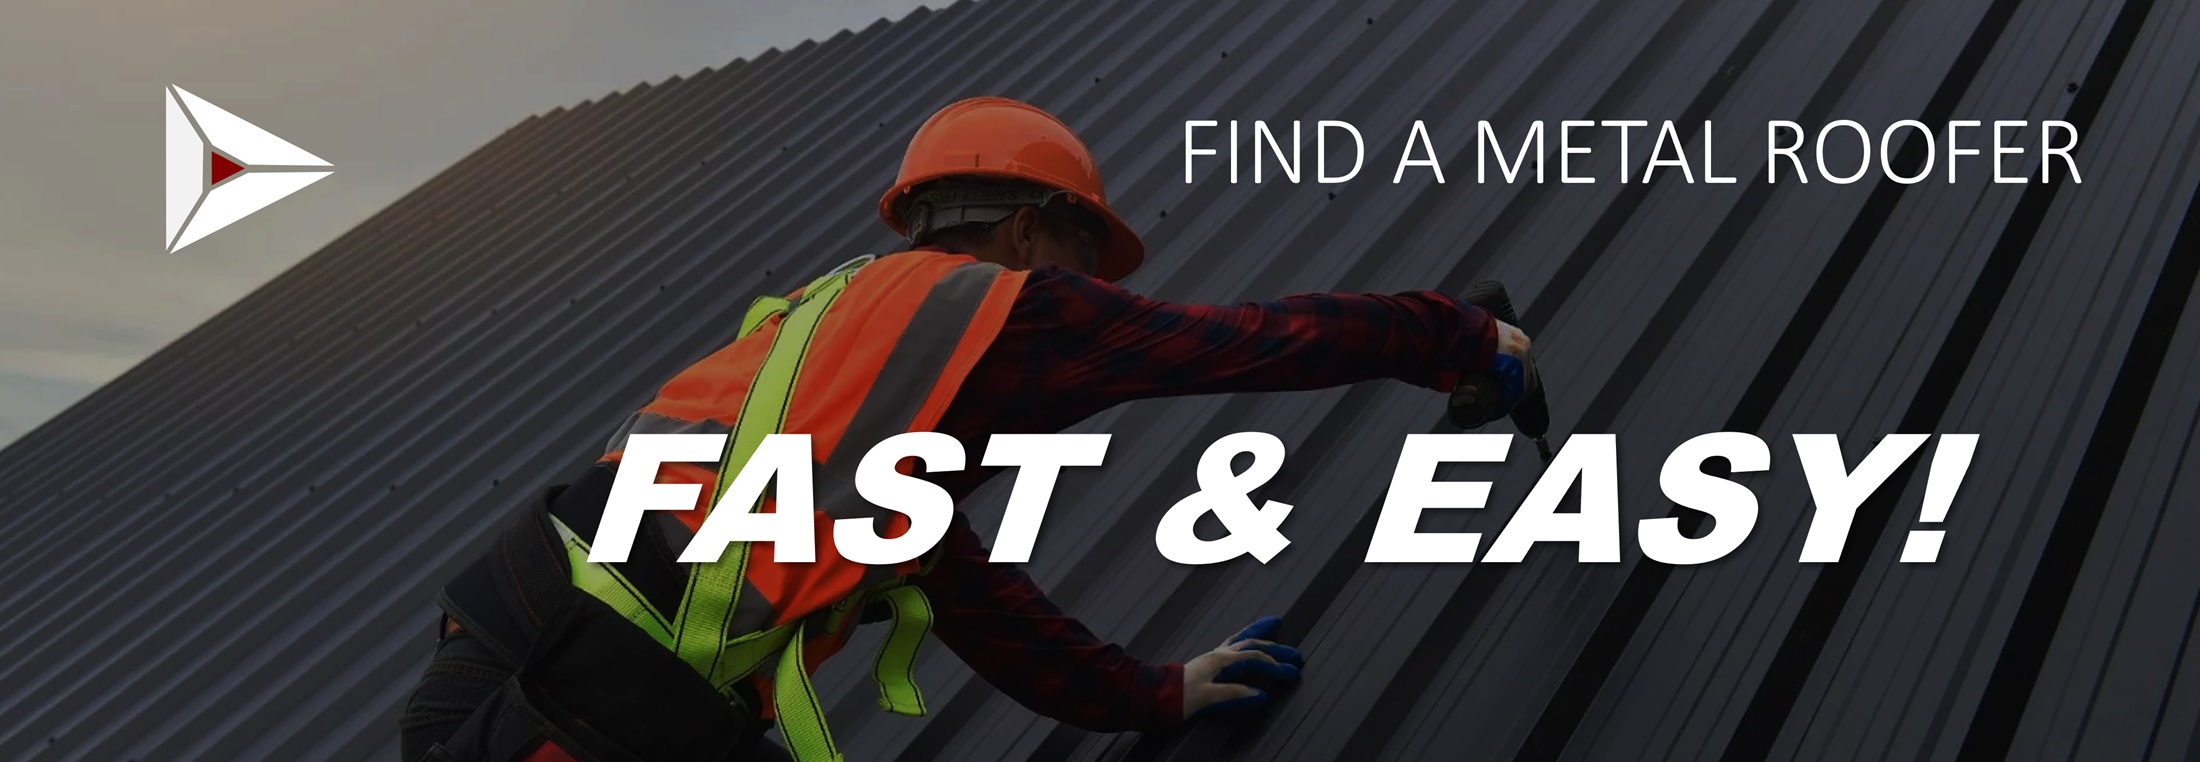
Find a Distributor/Contractor Near You
Whether you’re building a new home or planning renovations, a metal roof can deliver long-term cost savings and comfort. To explore your options and find the product that meets your aesthetic and budgetary needs, contact an Atlantic Metal distributor or contractor in your area today. We can’t wait to help make your dream home a reality.


